Shaders Case Study: Pokémon Battle Transitions - Part II
In part 1 I created various transitions using different fragment shaders. These shaders used geometry formulas to calculate when each pixel should be hidden. While this made it possible to create some very cool animations, the math got complicated quickly.
A better strategy is to encode in a texture when each pixel should be cutoff. That way it’s no longer necessary to make any calculations. Basically instead of doing this:
result = doMathWith(pixelCoordinates)
if result < cutoff
  paintBlack
else
  paintColorFromTexture(pixelCoordinates)
Do this:
value = sampleFromGradient(pixelCoordinates)
if value < cutoff
  paintBlack
else
  paintColorFromTexture(pixelCoordinates)
This means that all these transitions use the same shader; their only difference is the gradient texture from which they sample:
- Left To Right Wipe
- Vertical Reflected Wipe
- Diagonal Wipe
- Crashing Wave
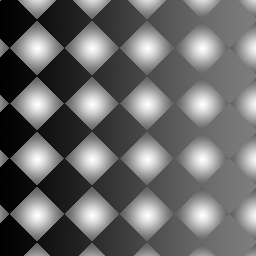
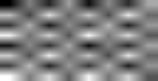
- Chess, then Circles
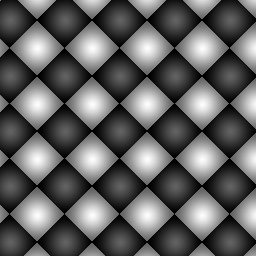
- Circles, Chess and more Circles
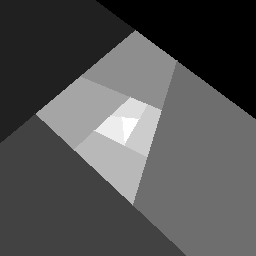
- Enclosing Triangles
- Spinning Spiral
- Gooey
- Trapped
- Poké Arena
So without further ado, let’s begin.
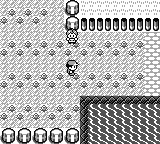
Left To Right Wipe

This transition looks the same as the Left To Right transition in part 1, but now it’s using the gradient above.
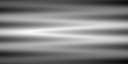
Vertical Reflected Wipe

Likewise, this transition looks the same as the Vertical Reflected transition in part 1. This time though, the only difference between this transition and the previous one is the gradient! The fragment shader remains the same.
Diagonal Wipe

Once again the shader is the same; only the gradient changes. Look how easy it is to create another transition. Just create another gradient!
Crashing Wave
Here’s where things get interesting. Creating this type of transition using only math would be pretty unwieldly. I won’t comment on the next transitions as I think the results speak for themselves.


All of these transitions use the same vertex shader I used before and this exact fragment shader:
void main() {
  vec4 p = texture2D(gradient, uv);
  if (p.r < cutoff) {
    gl_FragColor = vec4(0, 0, 0, 1);
  } else {
    gl_FragColor = texture2D(texture, uv);
  }
}
The shader only uses the red component of the gradient. The shader could use instead the green or blue components since all three components have the same value. Furthermore, while these RGB values usually go from 0 to 255, in GLSL they go from 0 to 1. This makes it really easy to compare a color to the cutoff, since it also goes from 0 to 1.
The shader uses the same uv coordinates to get both the gradient value and the texture color. This works even if the images have different dimensions because uv coordinates go from 0 to 1, independently of the image size. Ideally the aspect ratio of the gradient should match the aspect ratio of the image / game, otherwise the animation can look stretched.
The bottom line is: it’s much easier to create animations using textures than with code. Creating some of these textures isn’t easy though. We’re kind of moving the complexity around. But once you get the hang of it, the advantages are plenty.